Friday, April 26, 2013

Creamy Almond Milk

 
Wow!!! Now I feel like I'm getting there! I'm not afraid of my
Vitamix anymore and I whip things up like nothing these days!
My friend JM warned me: "Once you make your first batch of fresh almond milk,
you'll never go back to store bought"....
 

Almond Milk

1 cup Raw Almonds
3 cups Filtered Water
Nut Milk Bag
(you can also use a fine mesh sieve or cheese cloth)


First you will need to soak the Almonds in water for a minimum of 8 hours or overnight
 
 
Once hydrated they look nice and plump!


Add youringredients to your blender and blend on high speed for 2 minutes


 Once it is blended to the desired consistancy, pass through a fine mesh sieve (or in my case I only had cheese cloth on hand)

 
And that's IT!! At this point you can add any other ingredients you like.  Consider Pure Vanilla Extract (1/2 tsp), Honey (1 tbsp), Dates (2-3), Raw Cacao powder (1 tbsp) the options are endless!
 
Well, I am a BELIEVER!!! This is the creamiest, freshest, most flavorful milk I have ever tasted!! I'm not just tootig my own horn people, this is good stuff!


Tuesday, April 23, 2013

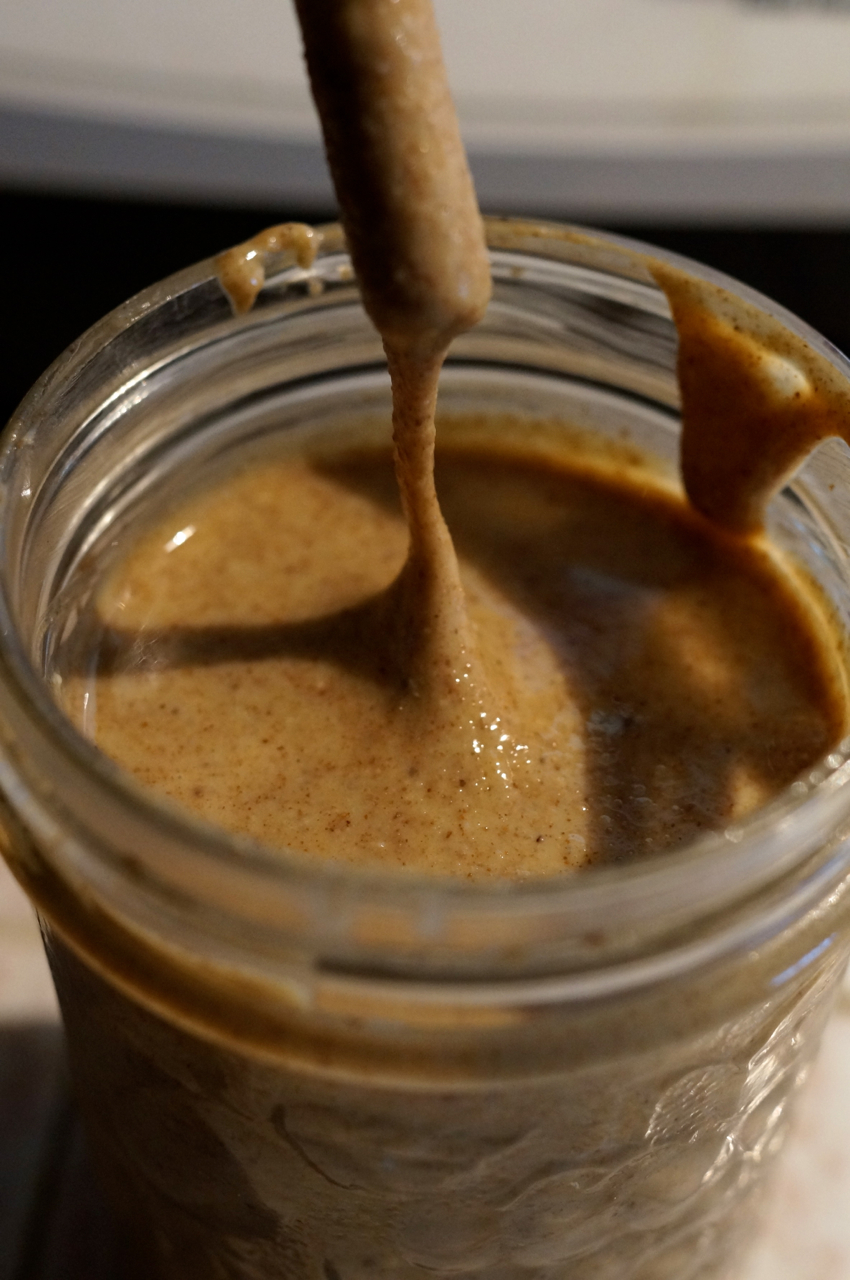
Creamy Almond Butter

 
One of the AMAZING things about this machine, is that you can make virtually anything that supports a Clean, healthy, plant based life-style. This is how we roll (or blend)
  
 
Ingredients: ALMONDS


Ready???

 
This is how it looks about half way through....
 
 
Almost there!!!

 
Aaaahhhhhhhh!!


Seriously people, you should be making this!!  For those of us that are a little challenged, here's the recipe:


Almond Butter

3 cups Almonds (Raw or Roasted)
 
Place the almonds in your food processor.  Blend on Medium speed for 1 minute, then on high for 6-7 minutes until desired consistency is reached.
 
In my Vitamix, it was warm and oh so creamy and good when it came out!!
Let me know if you try it!


Has it been that long???

Yes!!! It has been like 6 months since I last posted!! With the latest invent (and my newest obsession)  Instagram, I've been a little side-tracked!!

That being said, Sea & I have been SUPER busy with our new LOVE..... Our Vitamix.  I'll start here. We've decided to institute in our hoe: 365 of VITAMIX!  Doesn't really matter what it is, but at least once daily we will be utilizing this wonderful machine!  Here's our beauty looks like:

 
I decided on the "Reconditioned" model that Vitamix offers on their website. I know that Costco has them for sale around the country right now, but I wanted to get the "New Generation" series.

 
 It touts a new quieter, more powerful motor, a shorter wider 64-oz container (that is BPA-free)!  Because it's "reconditioned" it's not considered Refurbished, no broken parts or anything, it just means that 1. someone returned it within the 30-day period of use or 2. It was used as a "model/demo"


  Although the base/motor is "reconditioned" the container, tamper and cookbook are all BRAND NEW.  That was a plus for me too!  When I opened it, I fully inspected every inch of this thing and it doesn't have a scratch, a smudge or any indication it was EVER used!!. 
We are in LOVE!!  

Saturday, April 20, 2013

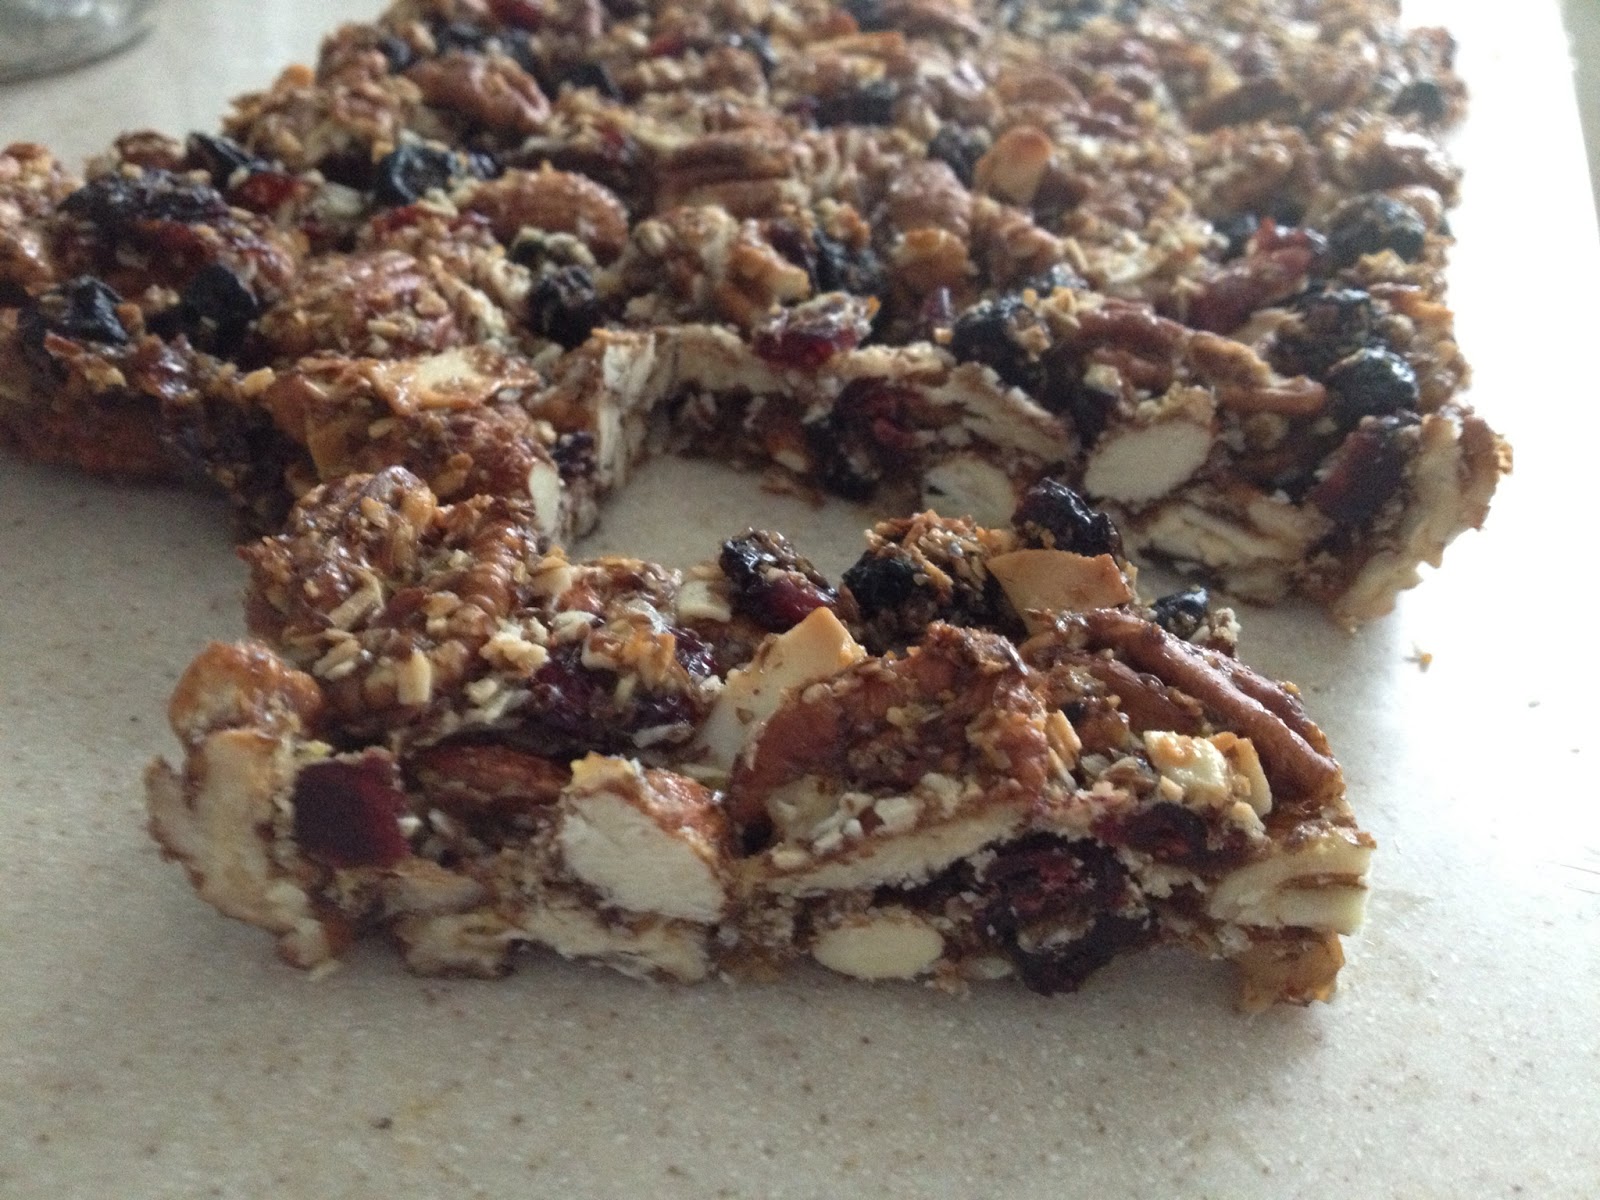
Raw VEGAN Energy Bars

Who couldn't use a mid-afternoon pick-me-up?  I know I could!! These bars are amazing!  Good to keep on hand when you get the munchies or in the mood for something a little sweet or pre-workout like me on most days!  Easy ingredients, even easier to make!  Thanks for the inspiration Felicia!! 


Energy Bars

INGREDIENTS:
 
1/2 cup Almonds
1/2 cup cashews or walnuts
1/2 cup pistachios or pepitas
2 cups pitted dates
1/4 cup dried cherries (chopped)
1/4 cup dried blueberries
1/2 cup dried coconut
3 tablespoons chia seeds or flaxseeds

 
Place the nuts in the food processor and pulse a few times until nuts are coarsely chopped, set aside. Blend the dates in the food processor. It will be very, very sticky. Transfer it into a bowl and then mix in all the other ingredients.


Wet your hands slightly and knead and fold the ingredients together by hand. It will be tough but if you knead and fold it will eventually all be mixed togeher. 


Press the ball of ingredients into a wax paper lined 9" x 13" baking pan. Chill for 1 hour in the freezer and then cut into bars. 


I like to wrap them individually in plastic wrap and store in the refrigerator, it keeps them at a nice firm consistency.

Hope you love them as much as we do!

Friday, April 19, 2013

Sprinting through Cadman park

Some may not realize that Crossfitters can do other things bedsides lift weights!!
The girls and I have been trying to incorporate more running (and cardio in general) into our WODs and well, today's did not disappoint!  And we got to do it outside!!

Today's WOD

100 Meter Sprints
10 rounds
for BEST time


Our Best time was 10 seconds!!!
 

Thursday, April 11, 2013

First time in Tucson

 
So, we had the privilege of going to Tucson Arizona for the Special Talk and we had a blast!!!
Good food and great friends!!  Sad it went by so quickly!


Tucson National Forest

KH project


KH project

 
Casa Grande Assembly hall

Casa Grande Assembly hall

Casa Grande Assembly hall

Casa Grande Assembly hall

Thursday, March 28, 2013

Juice Detox

Sometimes, you just need to reset your body.  It may be as simple as taking out a few quality moments for yourself, or eating cleaner for a day or two.  Well, we decided to do a detox juice cleanse for the weekend to reset our guts!! We loved all that wonderful food we ate in california, but my gut was screaming for this!


We went straight to the farmers Market.  I'm so glad we have one just a few blocks away.  Getting fresh organic ingredients makes all the difference!!  I love kale, any variety.  The greener the Better!
Need more convincing.....

Top 10 Benefits of Kale

1. Kale is low in calorie, high in fiber and has zero fat. One cup of kale has only 36 calories, 5 grams of fiber and 0 grams of fat. It is great for aiding in digestion and elimination with its great fiber content. It’s also filled with so many nutrients, vitamins, folate and magnesium as well as those listed below.
2. Kale is high in iron. Per calorie, kale has more iron than beef. Iron is essential for good health, such as the formation of hemoglobin and enzymes, transporting oxygen to various parts of the body, cell growth, proper liver function and more.
3. Kale is high in Vitamin K. Eating a diet high in Vitamin K can help protect against various cancers. It is also necessary for a wide variety of bodily functions including normal bone health and the prevention of blood clotting. Also increased levels of vitamin K can help people suffering from Alzheimer’s disease.
4. Kale is filled with powerful antioxidants. Antioxidants, such as carotenoids and flavonoids help protect against various cancers.
5. Kale is a great anti-inflammatory food. One cup of kale is filled with 10% of the RDA of omega-3 fatty acids, which help, fight against arthritis, asthma and autoimmune disorders.
6. Kale is great for cardiovascular support. Eating more kale can help lower cholesterol levels.
7. Kale is high in Vitamin A.Vitamin A is great for your vision, your skin as well as helping to prevent lung and oral cavity cancers.
8. Kale is high in Vitamin C. This is very helpful for your immune system, your metabolism and your hydration.
9. Kale is high in calcium. Per calorie, kale has more calcium than milk, which aids in preventing bone loss, preventing osteoporosis and maintaining a healthy metabolism. Vitamin C is also helpful to maintain cartilage and joint flexibility
10. Kale is a great detox food. Kale is filled with fiber and sulfur, both great for detoxifying your body and keeping your liver healthy.


Saturday, October 20, 2012

VEGAN Mexican Hot Chocolate Snickerdoodles

I LOVE Mexican hot chocolate dark, rich & spicy! And who doesn't LOVE a chewy snickerdoodle?  With this recipe the best of both collide in your mouth! You will love this vegan  chocolatey goodness!!! 


Vegan Mexican Hot Chocolate Snickerdoodles

Ingredients

1/2 cup canola oil

1 cup sugar

1/4 cup pure maple syrup

3 tablespoons almond milk (Or your preferred non-dairy milk)

2 teaspoons vanilla extract

1 2/3 cups flour

1/2 cup unsweetened cocoa powder

1 teaspoon baking soda

1/4 teaspoon salt

1/2 teaspoon cinnamon

1/2 teaspoon cayenne
1/2 cup cinnamon sugar (1/2 c sugar mixed with 1tsp cinnamon)

Directions


Preheat oven to 350 F. Line 2 large baking sheets with parchment paper.
In a medium mixing bowl, whisk together the oil,  sugar, syrup, and milk. Mix in extracts.
Sift in remaining ingredients, stirring as you add them. Once all ingredients are added mix until you’ve got a pliable dough.
Roll dough into walnut sized balls. Then roll them in the cinnamon sugar. With fingers slightly flatten into 2 inch discs. Transfer to baking sheet at least 2 inches apart.
 Bake for 10 minutes.  Remove from oven and let cool for 5 minutes, then immediately transfer to a cooling rack to cool completely.
Makes 4 dozen cookies


Enjoy with a glass of your favorite non-dairy milk!!  Thanks to The PPK for the inspiration behind this fabulous cookie!


Thursday, October 18, 2012

VEGAN Coconut Curry Vegetables

Since we have returned from Thailand I cannot help but indulge at least once a week
and attempt to recreate one of those delectable meals. 
We've always loved coconut - in any form young, new, water, milk, dry, shredded, au natural, candied, salted it doesn't matter if it's coconut based chances are, we will LOVE it.
We were feeling like a little curry tonight, so while Sea enjoyed his shrimp currry
my veggie plate was amazing!

 
Sorry I didn't take a pic of my plate :( not so Vegan but you get the picture (hee-hee)
 
I get my chili paste & curry from Chelsea Market.  They have a fabulous Thai restaurant that also sells all things/products direct from Thailand.  I try to stock up when I am able to go.  This is Massaman Curry which is green Thai Chili and is SUPER HOT!!!


 The coconut milk I use is the light variety from TJ's

 
I also add the same amount in Vegetable stock and this lightens the heat a bit,
but it still packs a punch.
 
 
decide which veggies you're going to use (I just grabbed what I had in the fridge)
 
 
Once your curry is at a slight boil add them in and let simmer for 10 minutes

 
So easy and ooooh so satisfying!!!


LinkWithin

Related Posts Plugin for WordPress, Blogger...